Some things:

My photo
I paint small metal and plastic figures and rarely get to play with them. But that is fine with me.
Showing posts with label Batrep. Show all posts

28 May 2026

Clash of Rhylfes (3x games of a new system)

With my initial Quar force painted up I was ready to play my first game of Clash of Rhyfles by Zombiesmith Miniatures. Stew came down this Sunday with his nicely painted and extensive Quar collection, and I'd set up a couple 2'x2' tables in preparation for his arrival (altho thankfully Stew had brought a few "Quarish" scenic items to Quar them up a bit better). 

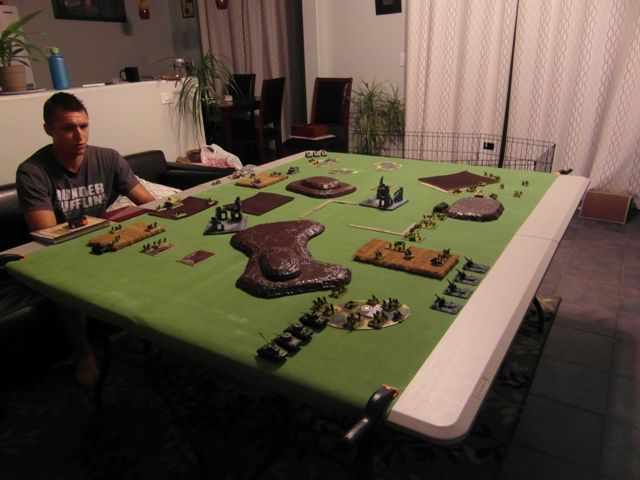
Obligatory "Yay we actually gamed for the first time in over two years or something" pic. I missed that guy, he's great company and a solid chap in general. (I really need to do something about those awful extra chins...)

Having somehow the whole of Sunday to myself is a rarity and so I took full advantage and we managed to cram in 3 full games, which was excellent. The Clash of Rhyfles system was extremely fun and I really liked how although there was a definite "turn" system, each player had stuff to do or to react with so one wasn't just waiting around. The lack of surety as to how many activations one gets (3-5 based on a card draw) each turn was also a flippin brill and really made choices in-game both tough, but also ensured one really had to plan out each turn carefully in case their opponent revealed fewer than one might have been expecting. This rules set seemed nicely balanced for the skirmish size it was designed for and I could easily see it used for all sorts of squad-based muskets thru modern genres if the Quar aesthetic wasn't your thing.

Enough Waffling - on to some pics. Forgive the quality, the lighting in my game-space is average at best. I played my recently painted Fidwog in each game. 

Game One -Vs. Stew's Toulmore (200 or so points a side.)

This was my first game of Clash of Rhyflers so I was learning it all like a newborn babe being handed their first boob. We played two small lists of basic rhyflers, a yawdryl and my LMG guy. I was so caught up, I forgot to start taking snaps until almost the last turn. Boo.

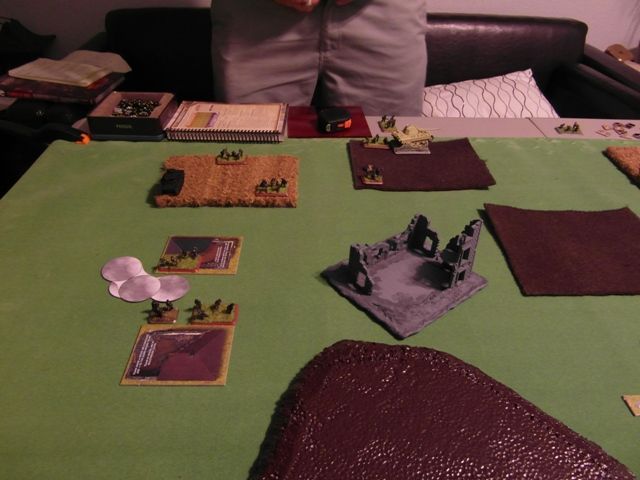
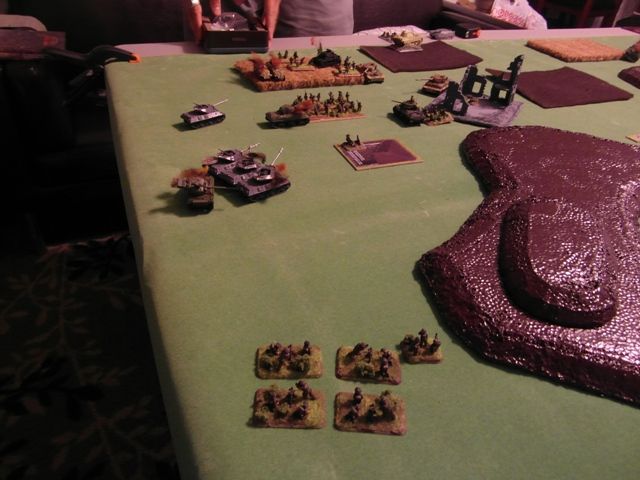
In this pic, my brave Yawdryl (Sergeant) hunkers down behind one of the objectives we were both fighting over as Toulmorese troops shift about shooting at him from inside the ruins ahead.

Over at the other objective my Miner and a Gaefyn secure things there while two more Gaefyn are caught out in the open trying to assist, the one with tokens next to him and the yellow "whirlies" over his head is "Gobsmacked" & "Down" and needs to Recover.

Toulmorese bodies are littering the field of battle. It's not looking good for these Crusader Fanatics. 

Bottom left in this pic, my han-Gaefyn (Corporal) has just taken out one of the last of the enemy with a well-placed long ranged burst with his squad support LMG. Thankfully though, cos the rest of his buds in this pic all needed to use the Recover activation to get rid of their "Gobsmacked" & "Down" markers had there been another turn!

In the end, if you hadn't already guessed I won this learning game rather handily. I picked up the basics of the rules pretty quickly and we quickly moved on to game two.


Game Two - Vs. Stew's Crusaders. (My 365 vs Stew's 300-ish points)

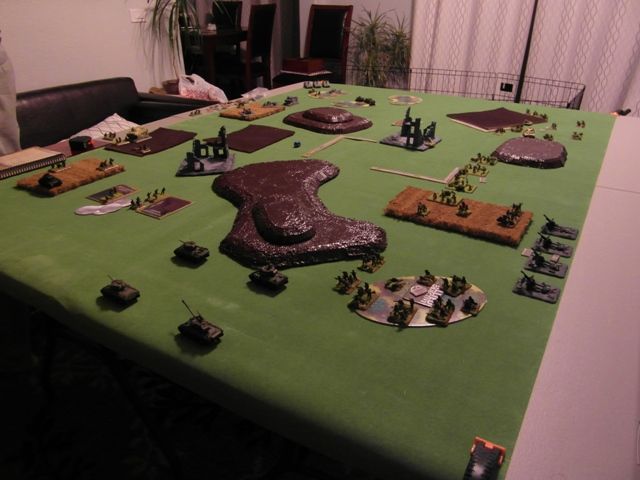
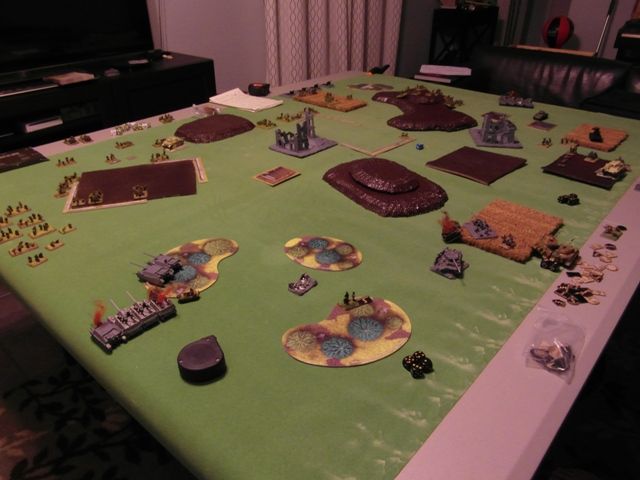
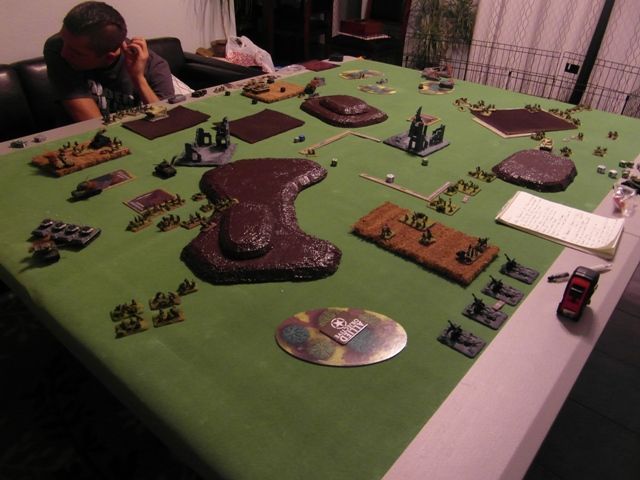
Stew brought out his Crusaders for game two. (Those are the generic not-Communist faction that multiple nations have joined in the setting.) They have lots more options for list building. I numbered and lettered the different models and their placings in the below first image, but sheesh - if I am having a hard time reading that crap I can only imagine how you lot are so ignore the labeling and just know, green boxes denote Stew's troop placements, Red show mine. The scenario had my slightly larger Fidwog force being ordered to assault the Crusader encampment at the north of the first pic and take two objectives to win. 

Stew's guys at the top of the pic - basic Rhyflers, a couple Ryshi high powered Rhyflers, a Yawdryl and an AT Torpedo team. Mine was the same list as the first game but with an added Caertyn (Lieutenant), Marksquar (Sniper) and Fynrydhad (Tiny tractor). The river was treated as a "One move action to enter, another needed to move out". 

Stew's setup. That wattle fencing was way better at providing cover against firearms than one would have guessed!

Stew quickly became annoyed as my Marksquar set up early on in the game and began popping off long range shots primarily at his AT Torpedo team about 2 or 3 turns in a row.

My Tractor rumbled up and started peppering Stew's line. These early turns didn't look good for the Crusader defenders at all.

With infantry support creeping up in support, my tractor had a turn of multiple insane rolls and lots of Quar Rhyflers fell to aggressive fire.

Then some other Quar picked up the Crusader AT Torpedo.... and well, down went three of those infantry and a lucky Ryshi rhyfle shot took out the tractor. My right flank wasn't looking good all of a sudden.

Over on the other flank it was a slog getting across the river. But slowly my brave boys managed to make a bridgehead. Poor young Caerten tho took a shot trying to vault the fencing.

Another lucky long range shot finally takes out my Marksquar. He earned his mothcakes this day though.

Endgame. Lots of Quar littering in and around the Crusader encampment and others are stunned and otherwise useless. My last ditch effort to rush the objectives came up short and Stew got a good win. This game was even more fun than the first.


Game Three - Vs. Stew's Crusaders (Around 365 points each)

After a brief interlude for vivers, we managed to get one last game in before we called it quits on the day, a Meeting Engagement where we each scored points for getting the most troops over the halfway mark or something. 

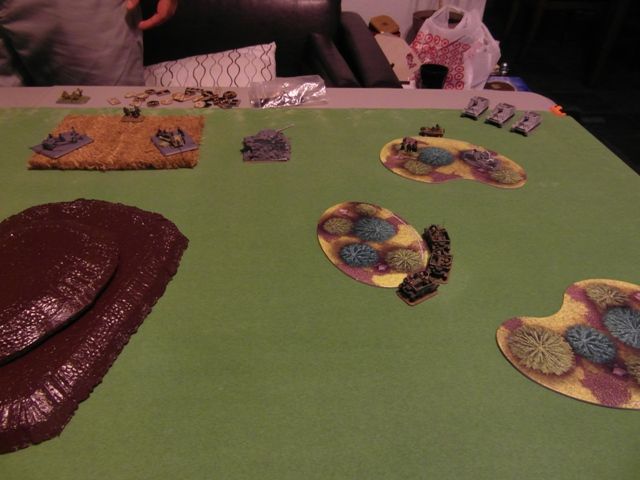
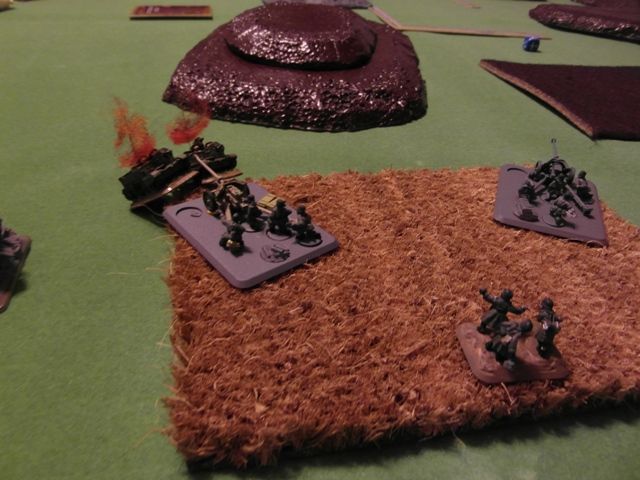
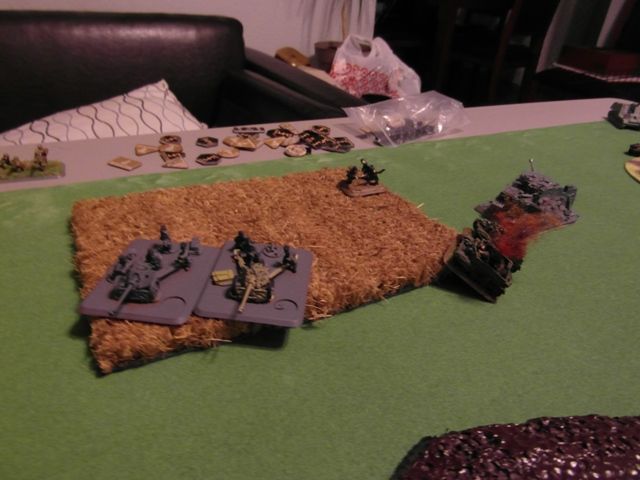
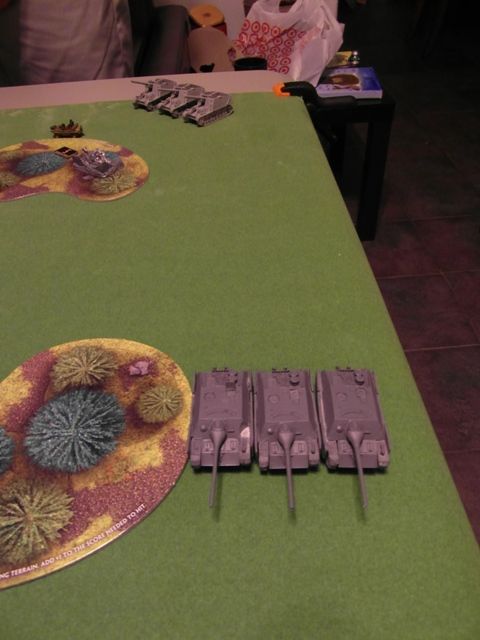
The set up for this game had a LOT of cover. Each field where the trees are seen were treated as all "Light cover" as were the fences and the swampy looking not-cd's-at-all-honest made movement slow. My boys again were heading north.

Stew started off strong this game, causing a trio of my troops to do down and even taking one out. He also knocked off a point of hull from my little tractor too. 

The going's rough and casualties are starting to mount up on both sides. I have some of my troops a smidge over the half-way point.

Stew has a cunning plan? Or just a cheeky grin. Those glasses are not ours.

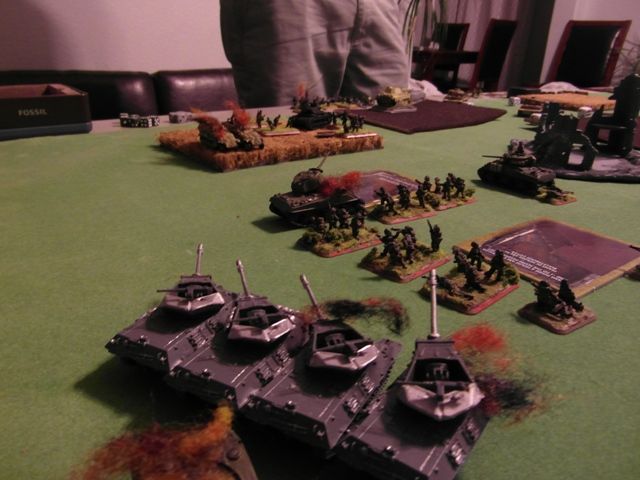
Getting toward the end of the game. It's been a right back-and-forth affair and we both have suffered a lot of casualties. 

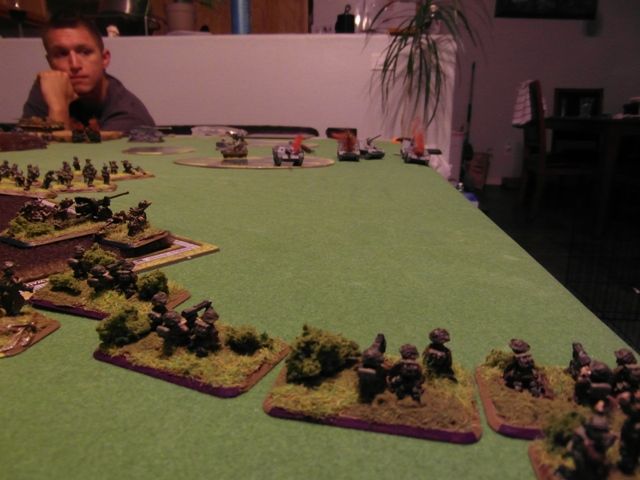
Unimpressed at having not won or just downright tired after a long day of gaming, my guest poses in a very manly fashion. We called this one a draw. 

There, a very pleasant day of gaming with a good friend and I got to hop fully onto the "Quar Train". Colour me hooked!

Now I'm trying to decide whether to save to buy my own Crusader force or just wait for the rumoured to be released later this year new Starter Set which is supposed to be featuring new plastic kits for a couple new Quar nations in their unending war?

We'll see. 

(O and at many of your requests, I did enquire as to whether Stew will return to blogging!? He responded - "Maybe".)

Hope all are well and safe out there,

- Dai

02 March 2026

Another game before the end of February

This weekend saw the opportunity to play a second game of Bolt Action in the month of February, albeit on the very last day of the month. (Imagine that, two games in one month!)

Densmol and his lovely wife came over to our place for the weekend and after the obligatory co-ed socializing period was over, he and I got the game table set up and started rolling dice. Sadly, a little alcohol had been consumed by that point of the day and our "best gaming heads" weren't exactly in place and so our playing pace was somewhat slower than typical. This led to our better halves dropping by about 2/3's through turn 4 of 6 to complain they were bored and required us to "finish up already". A disappointment for sure. Still, the four turns we had managed to get through were lots of fun and really, the game result could've ended up swinging either way. 

The scenario I set out was inspired from the Bolt Action 2nd Edition campaign book: Road to Berlin. The table is set out where control of three objectives are needed for victory conditions (Bridge, and two foam pieces representing fording areas.). The remainder of the table aside from the road is considered Rough ground - the book describes this due to snow, but in our game, these areas are flooded (Ala areas of Holland in 1944). This meant the only part of the table that wheeled vehicles could move on are just the road. Tricky. 

My force consisted of something like: an officer with adjutant, a 10-man squad of regular infantry, two 6-man squads of commandos armed with SMG's all in an LVT-4 Buffalo; a pair of 5-man engineer squads armed with a flame thrower in Bren carriers, a Sherman tank and a pair of WASP flamethrower carriers. 

Densmol's force had (I think) two ten man Heer squads, two 6-man Fallschirmjager squads, a Panzer 2 Luchs, StuG assault gun, sdkfz222 armoured car, a trio of Opel blitz trucks and a pair of Hanomag halftracks all to transport the infantry. 

*Pictures taken were not the best and not frequent, so apologies and we had unpainted (Shock-horror!) models on the table. 

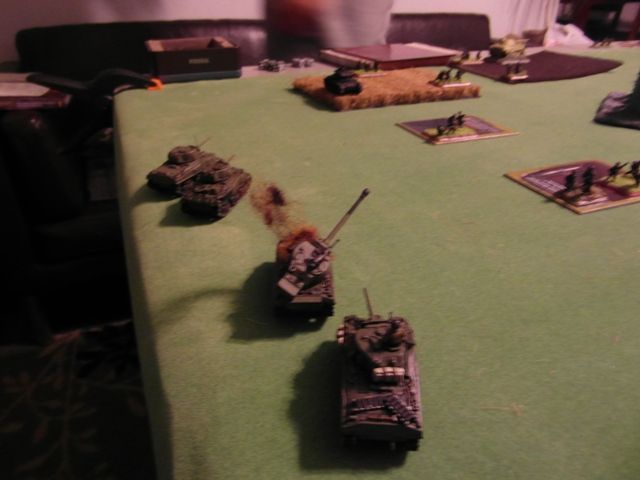
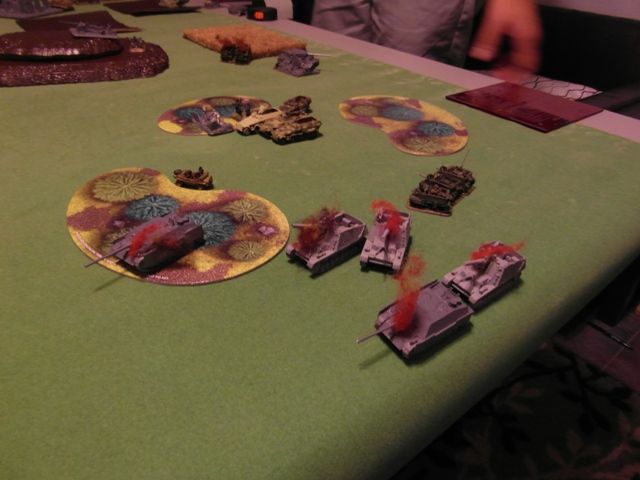
My Canadians heading north in this picture. The LVT4 unloaded it's commando teams (One got shot up almost immediately.), the Sherman tank starts shooting at the StuG and the second of my WASPSmoves up in support, using that copse of trees ahead of it as cover. On the right flank, the engineer squads in their carriers drive up only to see one of their number take some well taken shots by the German Luchs which destroyed the carrier and slew a couple of the engineer passengers.

More movement and the Germans bring on more infantry, the Sherman and StuG continue popping off shots at eachother with miserable results and my Commandos and Regulars take the Western Ford, whilst my Engineers take the Eastern Ford too. Looking good so far. 

On the 3rd turn, my second WASP flamethrowing carrier comes on from reserve and BBQ's the Panzer Luchs with a close-ranged burst of combustible. I love the smell of roasting German Kitties!

A bit more movement. Mostly long range firefights on the left with German infantry getting whittled down and the Sherman FINALLY does some damage, Immobilizing the StuG and pinning it beyond usefulness. 

A lucky (out-of-photo) Armoured Car shot takes out my Buffalo transport! Losing the fire-support of those HMG sponsons will hurt.


And this is where we left off. Truth be told, Densmol still had plenty of infantry to disgorge from his transports, so things weren't written in stone on the outcome of this game. Although we only got 4 turns in, it was lots of fun.   

And that's it. I managed a short session of painting (The officer team and the Buffalo) but niether were finished so they'll feature in a later post once I get another moment to add paint. 

Hope all are well and safe out there in this increasingly violent world we find ourselves in. 

- Dai


03 August 2017

BBB

Last night Densmol came over for Beer, BBQ and Bolt Action. (Hence the post title - clever eh? Okay, probably not)

We played a 1000 points game with my Soviets versus Densmol's Germans. The mission was an objective grab and hold affair from the main rule book called "Key Positions" and we rolled for 3 objectives total. In lieu of cheesing about the place and dropping them in convenient areas of the table, we decided to stick them in nice non-preferential spots on the centerline of the board and I added some fun crates, etc to give further credence as to why our commanders would have us grab them in the first place. Once turn 6 comes around (And a potential turn seven, dice roll dependent.), who ever holds more objectives uncontested wins.

Densmol's list was (to the best of my memory) as follows *All Regulars aside from Veteran SS*:

  • 2nd Lt + 2 Adjutants
  • 10x Heer inc Panzerfaust and LMG 
  • 10x Heer inc Panzerfaust and LMG 
  • 6x SS with Assault Rifles and 4 x Panzerfausts 
  • Medium Mortar
  • 251/1 D half track
  • Tiger 1E (!!!)


I decided to use my list I had hoped to take to the tournament last month (But never did.) *All Regulars aside from Free Inexperienced infantry*:

  • 1st Lt + Adjutant
  • 10x Guards with LMG and Panzerfaust
  • 10x Guards with LMG and Panzerfaust
  • 7x Scouts with SMG's
  • 8x Tank Riders with SMG's and LMG
  • 12x Free Inexperienced with rifles and Molotovs
  • Sniper Team
  • Medium Mortar with Spotter
  • Truck with MMG
  • M3 Half Track with HMG
  • M3 Stuart with 5 (!!!) MMG's


So his 7 order dice versus my 11. 

The game was lots of fun with some really cinematic events and a LOT of rules referencing due to us not playing for months. We also didn't declare what all the terrain elements were so buggered up there a bit too with some silly maneuvers that wouldn't have happened if "x, y or z" were the case. Regardless it was super fun, lots of dice were thrown and models removed due to outrageous casualties!

Hope you enjoy the write-up and half-arsed pictures! :)

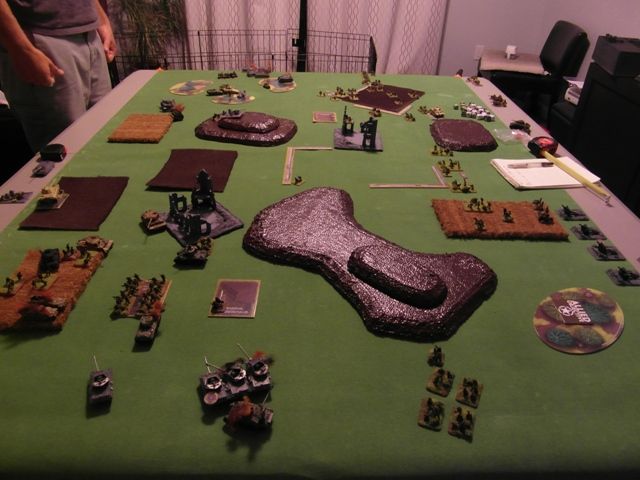
Here's the table layout with the three objectives highlighted with exciting stars. Germans advanced from the north side, Soviets up from the Southern edge.
For reserves, Densmol held off his half-track with his Lt+pals and a Heer squad inside. I chose to have my Scout squad come in outflank on my right side (Not available until turn 3) and my Inexperienced Squad in the truck to shore up any gaps that might appear in my lines. The rest of our stuff came on from our respective table-edges on turn one.

My Stuart with Tank Riders aboard zipped up the left flank along with my half-track and it's bussed Guards Squad. My other Guards Squad headed on foot into the trees, using them as cover to head to either the center or right most objective depending on which looked safer. Supporting them to their right and also in the trees is my sniper team. Off to the bottom left corner of this pic, my Mortar team set up behind the rocky outcrops there whilst their dedicated spotter moved up alongside the woods to the right to offer more targeting opportunities.
Densmol rolled his fearsome Tiger to sit menacingly near the center of the board. supported in the center woods by a Heer squad. His SS moved down the road next to the hovel and his own Mortar team set up behind the orchard with a nice view down the road and beyond.
A better view of Densmol's advance near the hovel.
Guards Squad (Shamefully unpainted) and Sniper team advance through the trees with Mortar Spotter hugging the hedges. 
My Mortar set up safely behind the Rocks as the Stuart and halftrack make a beeline for the left most objective. That Tiger is looking hungry out near the center!

Guards Squad dashes from their transport to claim the objective then hear a giant boom as the Tiger sights on the poor half-track and turns it into scrap with it's 88 gun. First blood to the Bosch.
In a first for me in Bolt Action, my Mortar team spots the nasty SS Vets as they dart down the road and try to range in. I needed a 6 and expected nothing of it but rolled anyway. And rolled a 6! With the nasty Nazis bunched together all of them ended under the 2" blast template and after some very nice damage rolls there were no survivors. My finest Bolt Action moment to date!
Squads on both sides move through wooded areas to keep the precious cover. Densmol's own Mortar fails to range in on my left most Guards Squad holding that objective and he manages to bring on his half-track packed with his Lt and his second Heer squad. The Tiger takes out a couple members of the same Guards Squad, but they hold firm.
On the 3rd turn, my Scouts come in on the right flank and unload into the rear of of the halftrack pinning the occupants. Off-picture, the Sniper add's another pin. In revenge, the Tiger rolled up and unloaded with it's Machineguns slaying 3 of the Onesie-wearing Scouts.
Leaving my Lt+mate to hold the left Objective, I run the remainder of the Guards Squad toward the Central one. I also brought on from reserve up the road (Even tho the stupid arrow in the pic shows otherwise.) my truck containing the Inexperienced squad to bolster them. The Guards are mercilessly shot at by the German Heer along the edge of the woods, but somehow stick around regardless of casualties taken.
The Guards Squad in the woods keep on heading up and try to shoot the Tiger with their Panzerfaust!
And miss.... With the leftmost Guards own Panzerfaust wielder now dead there's very little I can do to the horrible Big Kat except try to ignore it.

Densmol's Heer in the half-track finally get their shit together and hop out to claim the right most objective, the Tiger takes what should be an easy shot at the Inexperienced Squad and misses! The last few members of the Scout Squad are gunned down after failing to move into cover turn after turn.
With a last ditch effort, the Tiger tries to whittle down the Squad in the woods with yet more MG fire, but fails to do any real damage and the German halftrack with the Lieutenant inside attempts to roll over to the Center objective so the Lieutenant can hop out and contest it for a draw. But he FUBAR’s and his driver has other plans, shoving the transport into reverse at top speed!!!!


At this point, it's the bottom of the 6th turn. The only way Densmol could manage to pull back a draw was if he successfully rolled for a possible 7th turn. He didn't and with two objectives in my hands to his one, the day was mine.

It was fun to finally get in a game after ages and even though we were fluffing our way through the rules and I was swearing up a storm due to his stupid Tiger and it's "Tiger Fear" rule causing me to miss multiple Orders tests, we both claimed a good time was had.

If you made it this far, well done - you win too.


14 October 2013

Sprucing things up

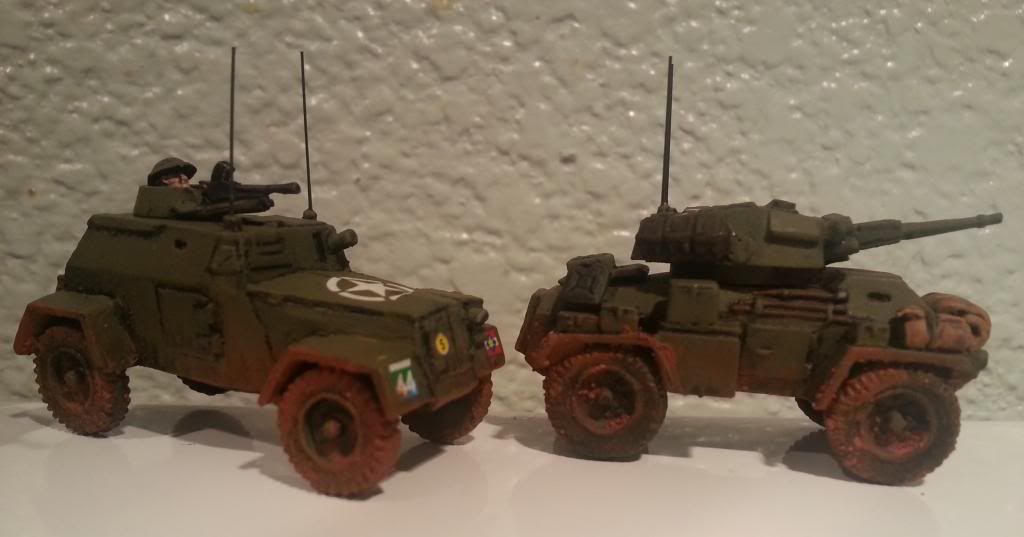
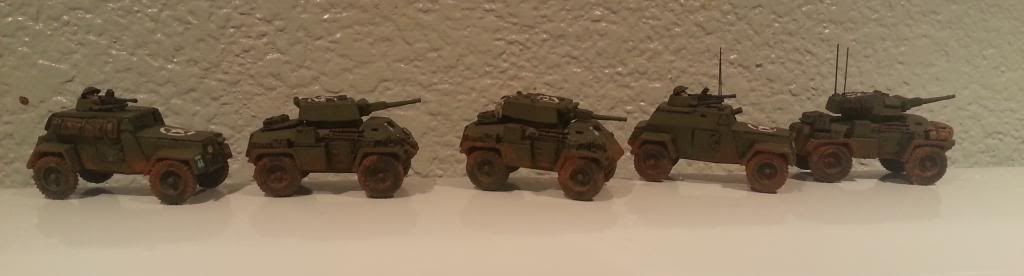
In my efforts to make my models look as good as I can, I've been working on my Canadian armoured cars and Shermans to add both remaining markings and some weathering.

Only pics of the Humbers so far, but you'll see what's been done. The decision to use such a bright "clay" colour was mainly an artsy one - all the better to stand out and be more easily seen from the table. I used a combination of GW's Blackfire Earth textured paint with some Secret Weapon Miniatures wearthering powder on top.


(I'll get pics of the tanks up at a later date.)

I've also been gaming, quite a bit actually including my first Early War Flames of War tournament, a team event where I paired up with Wyn Robertson playing his French forces. We finished 5th out of 9 teams with two wins and a very close 1-2 loss, but considering it was crazy early war, I feel it was a fair result. Early War feels a rather unbalanced setting in this rules set where Soviet tank hordes rule supreme and more dice were thrown about than a game of Warhammer 40K. Not sure I'll be collecting an Early War force anytime soon.

I also hosted Wyn yesterday as he was visiting family in my area to give him a practice Mid War game before he jets off to Philadelphia (Or some such) for this year's Masters tournament. (He's a rather good player, you see.) We played 1485 points and he brought some sort of US Motorised infantry with large infantry platoons in 1/2-tracks supported by 3 Shermans and some 1/2-track mortars.
I put together a list from the latest updated British in Italy .pdf and made a Rifle company with 2 infantry platoons, 6pdr Portee (Mounted on flatbed trucks) AT guns, some 25pdr artillery, HMG and 3" mortar platoons and an armoured car/Universal Carrier Recce combo. I also had some Limited Hurricane air support.
The mission was No Retreat, one where we played long-ways on the table and I was the defender. It was a fun game and a frantic affair with almost all the action occuring on my right flank due to Wyn placing his objective super close to his own table half and far away from my own defensive objective.
Somehow I pulled a win off after Wyn had successive missed platoon morale checks seeing two platoons scarper in one turn and he conceding considering what remained would have swiftly been overwhelmed by my boys. A 4-3 win is nothing to sneeze at against an opponent of Wyn's class and caliber!

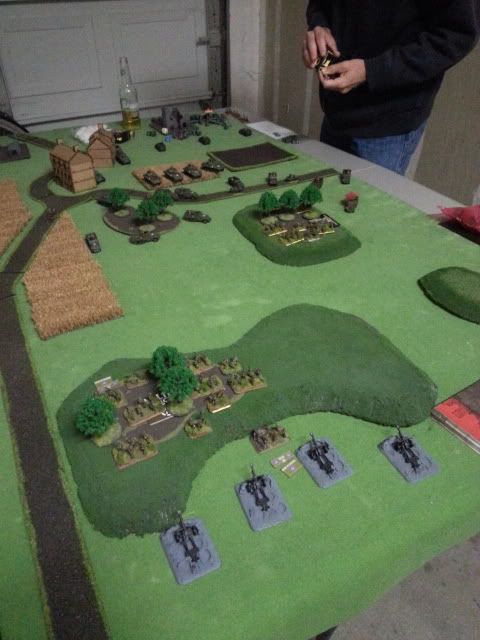
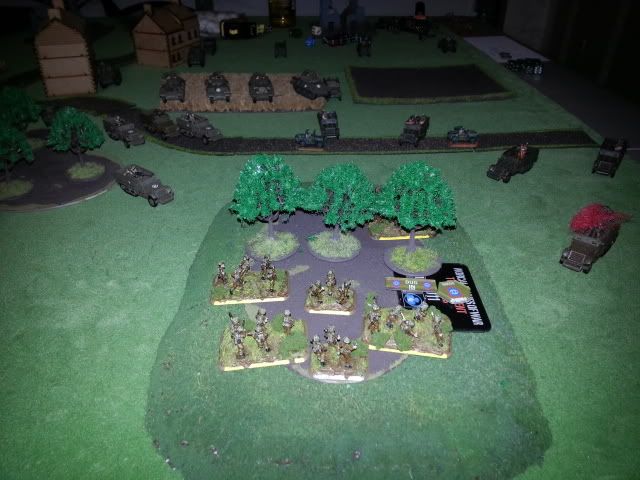
This is early game. I got 4 platoons on (One of which - 6pdr AT guns - was in ambush) and 4 off in reserve. My reserves didn't enter into the game until turn 3!!! And I had those damned 1/2tracks stuffed with MG's and all sorts of other nastiness rammed down my throat from turn one.
For those paying attention, my table has also been spruced up a little by the addition of new houses from 4Ground, road pieces by CGR painters and some trees! I have a couple more houses on the way and am currently hunting about for a decent looking river and bridge or two. 

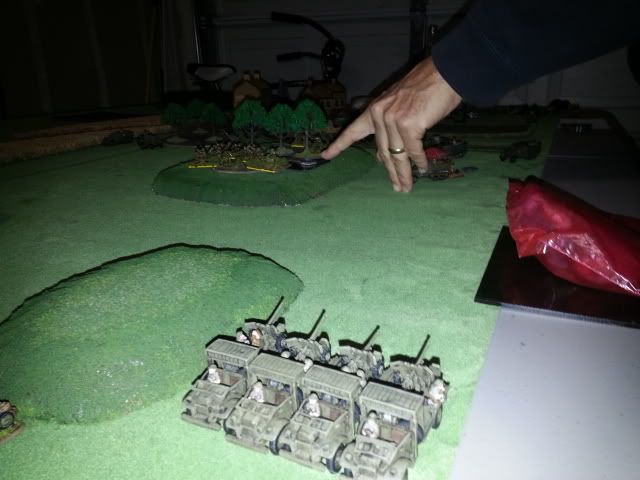
Portees finally arrive on turn 3 and with succulent targets available open fire with 12 dice and..... bail one 1/2-track. *sigh*
Poor Bloody Infantry indeed! These poor sods suffered more .50 Cal and Machine Gun fire than any other platoon I've yet played or played against. Eventually after 3 or 4 turns of this beating they were down to 4 or 5 stands received an assault and scarpered, but I don't blame them. They at least did their job and held up the enemy almost single-handed long enough for reserves to come relieve them.
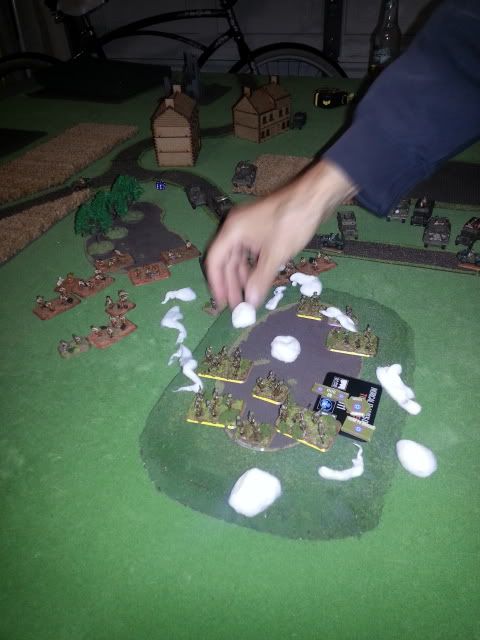
Believe it or not, this is not spilled ice cream nor yoghurt.
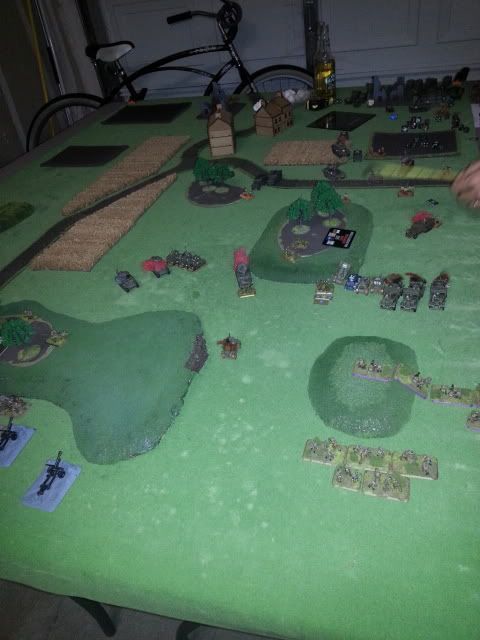
The British 8th Army wipes out the Yank invaders on the objective and pushes them back! In this picture, you'll see on the left three burning Sherman tanks, one of which was taken out by a flank shot by a Piat! My first ever kill by a Piat AT launcher! (I usually fail every firepower test with these.)
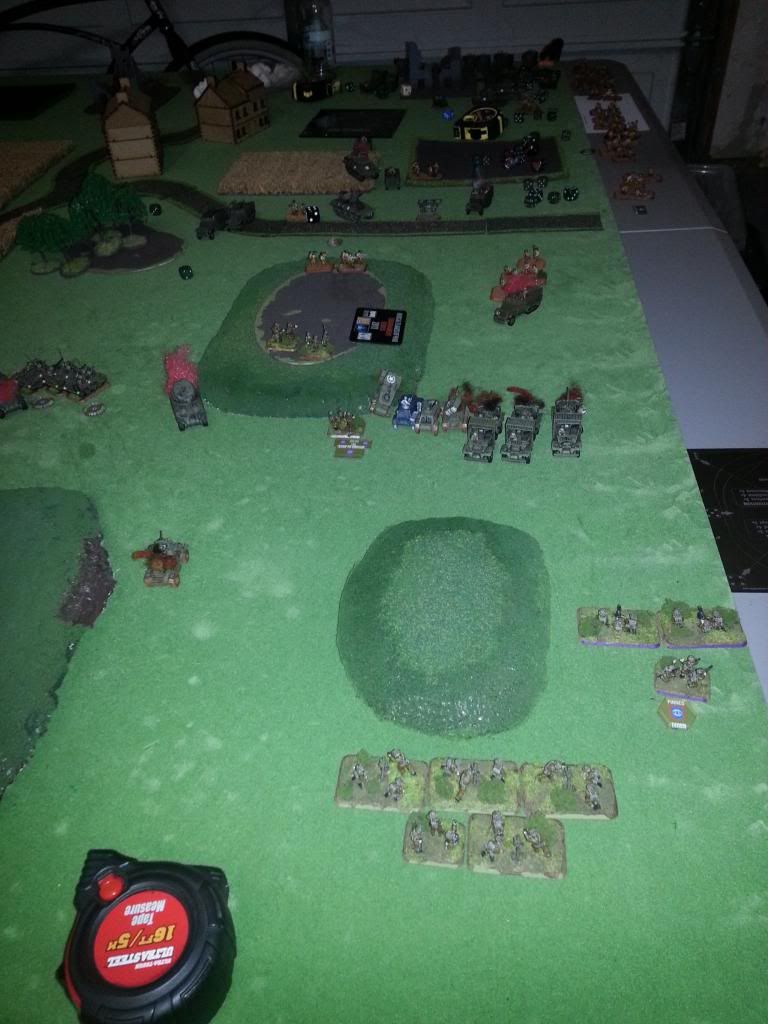
Game over man. My reserves are advancing up to add further weight to my retaliation.

Along with the above game, Densmol and I continue our fencing and I saw my 2nd only defeat to his hated Nazis for which I have declared retribution of the highest order in the very near future!

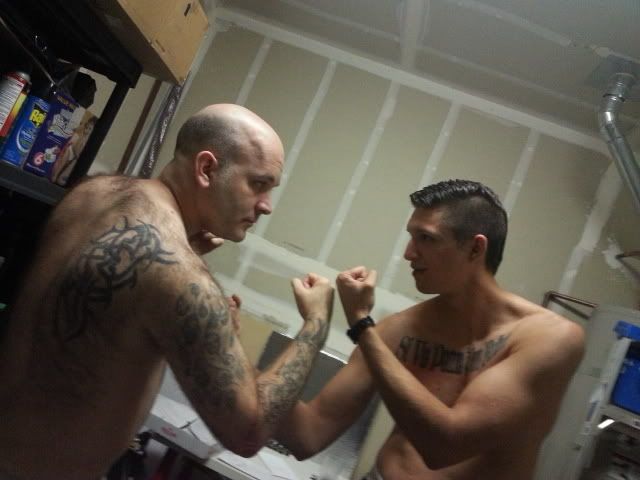
No gouging, no blows below the belt, no more drunken shirtless wargaming from here on in I think.....

31 July 2013

Operation Overlord AAR #2


Game #2 was with lists made from the new books, again, 1780 points limit.

Again, I experimented with something new to me - a 15th Rifle Company Confident Trained list. This was mainly due to the fact though, that I managed to fit 12 (!!!) platoons in 1780! Crazy stuff and something I'm sorely tempted to try out in a tournament. (Though I'll have to up my play-speed as it takes a lot longer to move about that many platoons than my typical 6 or 8 platoon list.)

Rifle HQ with Bagpiper
3 full Platoons of Rifle/MG infantry,
Warrior teams Stan Hollis and Capt. Treleavan (Effectively making two of the platoons roll Motivation tests as fearless.)
2 Universal Carrier patrols with a PIAT launcher each
4 6pdr guns with Loyd Carriers to cart them around
Platoon of 4 3" mortars
Full HMG platoon
Platoon of 4 Heavy 4.2" Mortars
Platoon of 3 x Sherman tanks + 1 x Firefly
4 M10's with 17pdrs
25pdr Artillery battery with 4 guns

This time Densmol ran a Gerpanzert Grenadier infantry list (I think....). Confident Veteran Germans. (Have to say, it's nice having a pal who having got into this, decided straight away to choose the opposite faction to my own and so we have no blue-on-blue games. There'll be a small campaign in the future I think.)
He ran:
HQ SMG teams with extra Panzerschreck team
Full MG infantry Platoon in 1/2 tracks with SMG and Panzerfaust for Platoon Commander
Full MG infantry Platoon, NO 1/2 tracks with SMG and Panzerfaust for Platoon Commander
2 x sd Kfz 251/9 - 1/2 tracks with anti-tank guns
Platoon of 2 Pak40 AT guns
2 dreaded Tiger 1's
Platoon of 3 Jagdpanzers
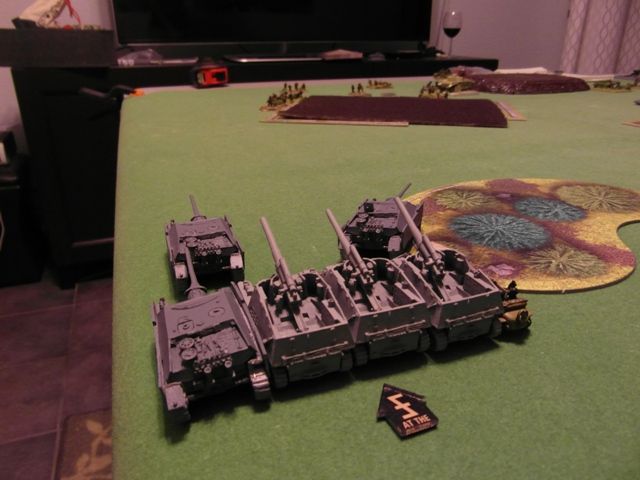
Battery of 3 Hummel self propelled artillery with a Panzer III observer tank

The game was started late and we ended up playing until 2:30am, stopping then cos we both had to be at work at 8am.....
 We rolled for mission and got Encounter with Densmol as the attacker. It ended up a 1 - 1 draw and even then could have gone either way, though Densmol's Tigers were still about at the end and my own heavy AT options were dwindling fast.....
 [I'll not write a turn-by-turn  account as we were well into the 10th or 11th turn prior to calling it quits, so here are some pictures and captions to hopefully allow you to get the idea of how it all went. Excuse the brown hills, they are not chocolate as my 8-year-old had hoped and are since been appropriately and crappily flocked green.]

Set up looked like this:


(Densmol wondering how he's going to get through 12 platoons of Brits.)

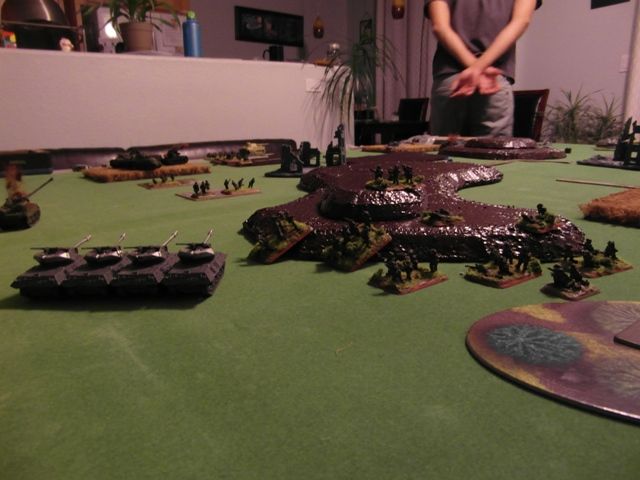
 I started off with Shermans on the left with the Capt.Treleavan and the 1st Infantry Platoon camped on the objective in the woods (Behind the large chocolate hill.). 25pdr battery left of middle behind the wheat field and Heavy Mortars in center behind a wall. Stan Hollis and 2nd Infantry Platoon camped about the right most objective with 1 patrol of Universal Carriers in there somewhere.

Densmol had a platoon of infantry in the wheatfield opposite my shermans with the OP PanzerIII, Pak40 AT guns in the other wheatfield and Hummels in his left most corner hidden behind trees.

Shermans moving out


German Infantry dash to take advantage of the buildings on their right flank the better to protect against the advancing Shermans!
 
Sneaky carriers have a cunning plan....

That apparently wasn't so cunning afterall.


What else can we pop?


Not the reserve roll I was looking for....

Dear Hummels, you should not be able to shoot so damn far. Love and kisses, The Shermans.

Shermans retaliate and blast the Hummels' Observer PanzerIII.

With their observer dead, the Hummels decide to try direct fire at my poor infantry instead.

I needed a six.... Just one stinking 6! :(

I finally get reserves! M10's on the wrong end of the table..... *facepalm*


6pdrs though, are a timely arrival indeed.
My 3rd Infantry Platoon trod up the field in the face of scary big guns... Jagdpanzer and a Hummel though are dead!

Captain Treleavan orders a push towards the left side objective!


Jagdpanzers dead or run away. HMG's arrive and pour fire into the Hummels.

Getting nasty on the left flank. If you look really hard, close to Densmol's  left leg, bloody Tigers.....

Mortars reinforce the left flank and start laying down pinning fire and smoke to protect the infantry.

Right flank is taken, with the 2nd Carrier patrol motoring up to take on those pesky 1/2tracks stuffed full of more stinking German MG teams!
And...... it's 2:30am. Stupid idea to play such a big game on a work night. Fun though. :)